
Multiple configurations of the microscope are available depending on preferences of the customer. Functions which are available only with a certain configuration are marked by a note such as (requires: AX-SHR). This is the list of options:
General AX Configurations
We can distinguish the configurations according to the imaging technique for which the microscope is equipped.
Multiphoton system which contains IR lasers and the NDD detector. No DUX- detectors, no LU* lasers.
A combination of both, confocal visible-light microscopy and multiphoton microscopy. IR lasers and NDD (non-descan detector) are added on top of the AX configuration.
Note
The following chapters expect the AX configuration. Sections which are valid for the other configurations are marked accordingly.
Scan Head
Detectors
Lasers
4, 5, or 6 lasers
Start NIS-Elements.
Select the hardware setup containing the AX confocal microscope and confirm it by .
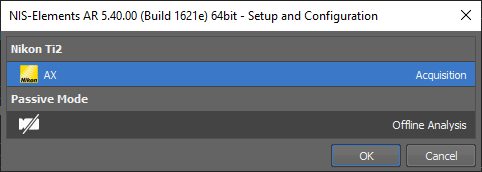
Figure 158.
Note
If the hardware setup is not created yet, create one.
Click on the Compact layout tab in the top left corner. This ensures the
 Acquisition
  panel is displayed on the right side of the screen. It is divided into several sections:
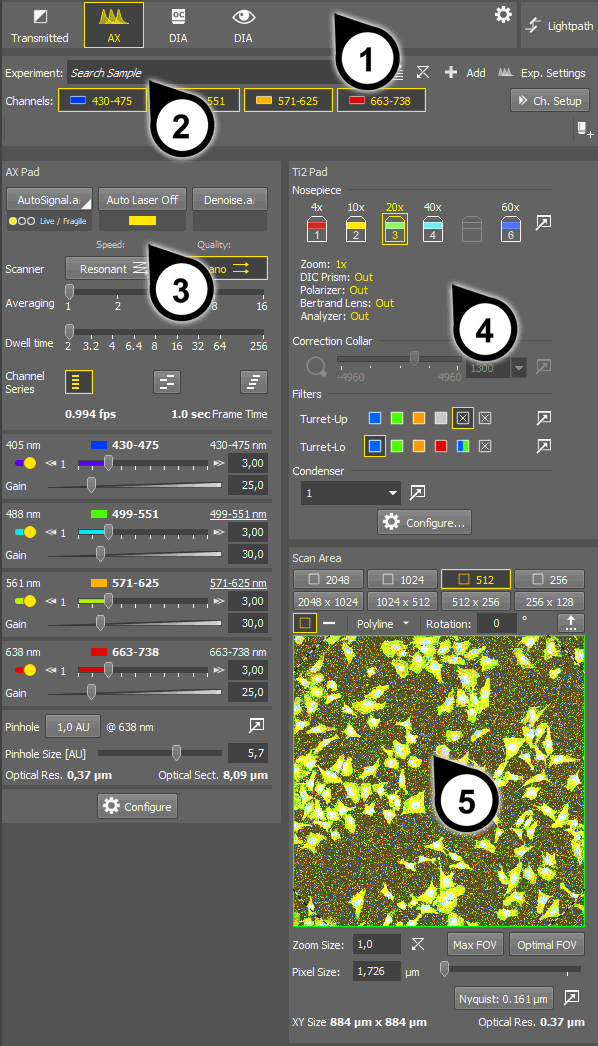
Figure 159. Acquisition panel of the AX confocal microscope
Light paths
- Experiment panel
Microscope pad
Select the AX lightpath button to activate the
AX Pad and the AX Scan Area panels. 
Figure 160.
Other hardware configurations
According to the actual hardware configuration, additional lightpaths are created by default. Options of the
 Exp. Settings window differ according to which light path is selected.
Adjust all necessary settings of the AX device and of the microscope pad.
Click on the button on the right to display the lightpath scheme. A scheme of your hardware configuration with the expected path of light indicated in it appears. If there is a problem along the way, a warning will appear in the scheme or the color line indicating the light will simply end too soon - for example if a wrong filter is blocking the selected wavelength.
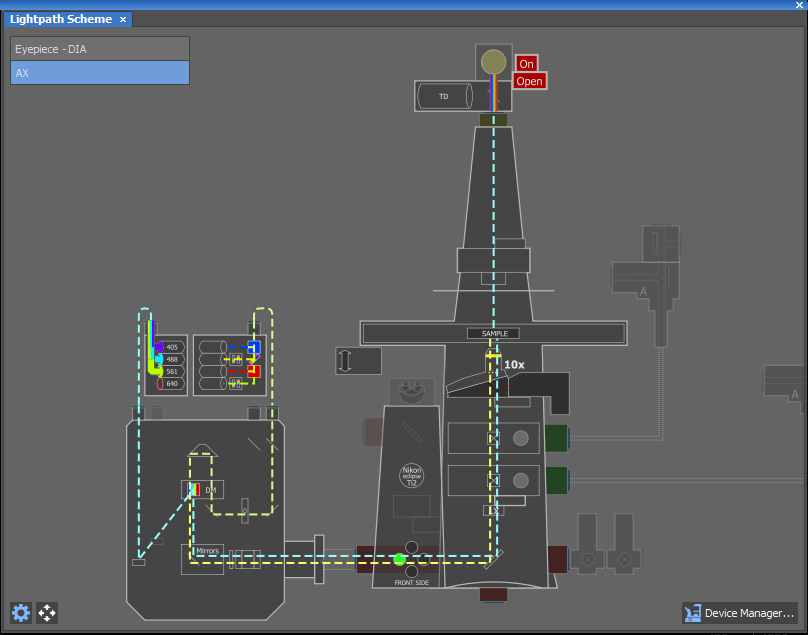
Figure 161. Lightpath scheme with AX connected, no laser selected for acquisition
Before you start the live image, you should define your experiment via the
Exp. Settings button.Proceed to Experiment Settings.