Running the  View > Analysis Controls > Tracking
 ![]() command displays the
command displays the  Tracking panel.
Here you can display the Tracking Options dialog window by clicking the button and later on adjust all your tracking results.
Select which model describes best the captured motion. If you choose both options, the algorithm then evaluates which model fits better the motion characteristics of your objects.
The brightest or the darkest object part is considered as the centroid.
Centroids are calculated from object shapes.
Select which options apply to the tracking.
Specify how many frames may be missing at most in one track.
Choose whether a track may split. Specify the probability factor - a number which multiplies the probability of occurrence of a splitting track.
Note
Splitting is disabled for objects detected by Spot Detection without the Growing option used.
Check this checkbox if you want to allow new tracks detection after the first frame.
The tracking algorithm uses statistics to predict the next position of an object (grey cross in the figure below and corresponding Gaussian curve) based on previous positions of the object (black crosses in figure below). Use this option to set the limits within which the tracked objects shall be found. The limits are basically defined by the multiple of standard deviation (green dashed circle marked by two red lines on the Gaussian curve). By increasing the value you extend the perimeter of the dashed circle. If an object is found within the predicted restriction limit, it is most probably the tracked object. Its position becomes part of the resulting track.
Select if a speed limit is applied. Only trajectories of objects moving within the speed limit will be considered. Use this option when you are sure the object cannot move faster than the set limit.
Tracks the binaries in the image.
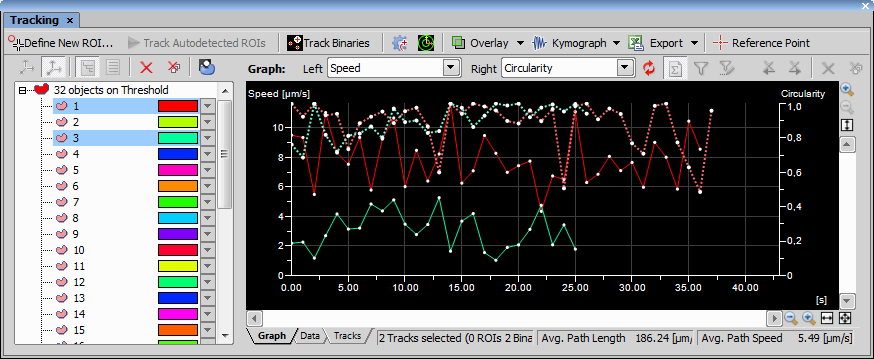
This button shows the Tracking results window (Graph).
Click this button to set all settings of the current tab to default values.
Press this button to perform tracking of autodetected ROIs. The Tracking control panel opens.
You can load previously saved settings from an external *.txt file.
You can backup parameters of object tracking to an external *. txt file and share it or store it for further use.
Displays relevant help page.
The following options are available for Binary tracking only:
Performs tracking on all multipoint frames contained in the current ND2 image.
Objects touching image borders are excluded from the tracking procedure.
Tracks the timelapse frames in reverse order - from the last frame to the first frame.
Sometimes tracking can fail due to bad time intervals sent by the camera. This feature calculates and uses new frame intervals based on average frame length.
Object Features
Select features to make the tracking method more restrictive. Move the slider or write down the value of the restrictive deviation. Only predicted objects that fit in these limits are taken into account while creating the trajectory.
These feature limitations work the similar way as Standard Deviation Multiplication Factor (see description here: Tracking Options).
Track Processing
For Track Processing options please see: Track processing
Track Properties
For Track Properties options please see: Track Properties.
