
Figure 1530. Fluorescence Acquisition.
6 Steps Guide
Slide Selection
Click
 Loading Position to move the stage to the position for loading the slides into the slide holder and insert your slides with fluorescence samples.
Select one or more slides to be captured (check box next to each slide or ).
Choose a scanning objective (listed in ).
Select the channel used for scanning the overview (Overview Scan - Channel - Default or a new experiment created by clicking
 ), select the Fluorescent Dyes (or add a new dye) and adjust the power and exposure.
Optionally check Skip Region Adjustment to omit the Final Inspection step.
Click
 .
.
Overview Scan
The system automatically scans an overview of the slides, detects the regions and transcribes the labels. No user input is needed in this step.
Edit Regions
Inspect and adjust the slide region(s) using the tools in the top toolbar (Edit Regions tools and settings).
Select a slide in the left panel and switch between its regions in the film strip gallery at the bottom.
When you are done with drawing or adjusting all the regions, click
.
Region Settings
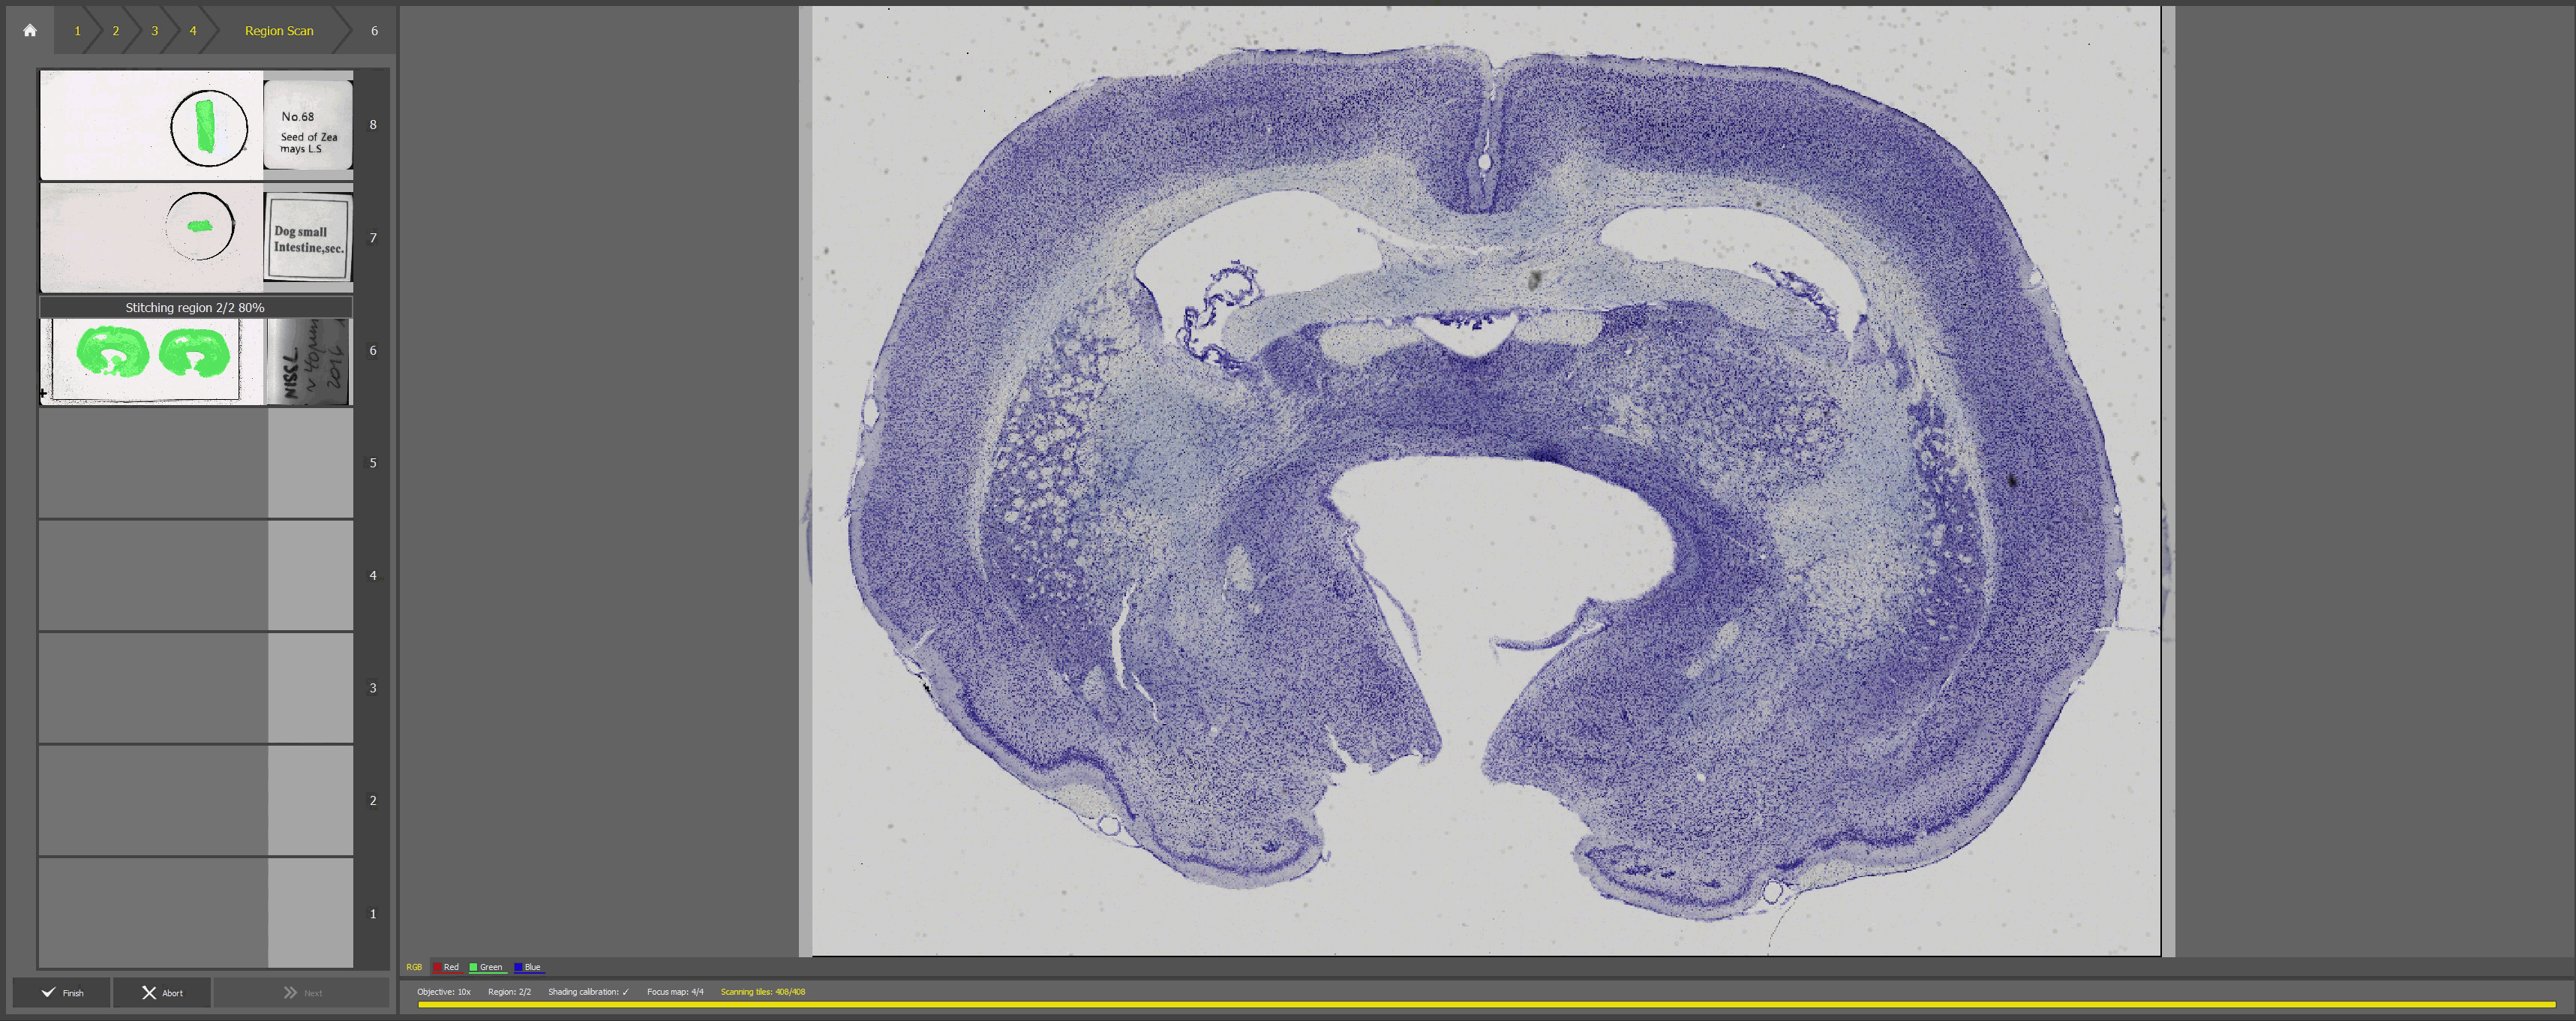
Region Scan
Wait for the regions to be fully scanned.
Final Inspection
Inspect the captured regions. Use the navigator on the right side or the region miniatures below to quickly switch between the regions.
Click
to browse through Gallery (Results)  .
.
