
The following example shows how to segment four types of cells using the Segment.ai function.
We start by creating a multi-point image from a sequence of single TIF images using the  File > Import/Export > Create ND File from File Sequence dialog window.
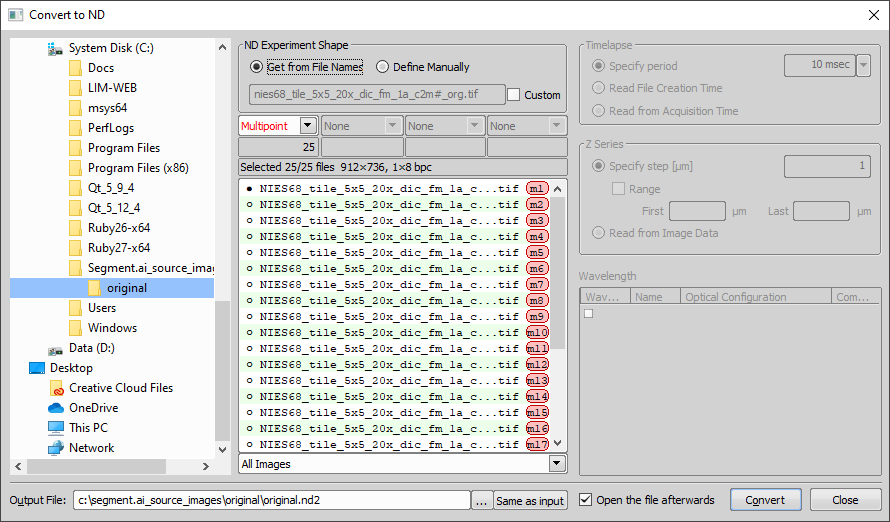
Figure 1519. Converting single TIFF files to one multi-point ND2 image.
Once we Convert the images, a multi-point ND2 file is opened.
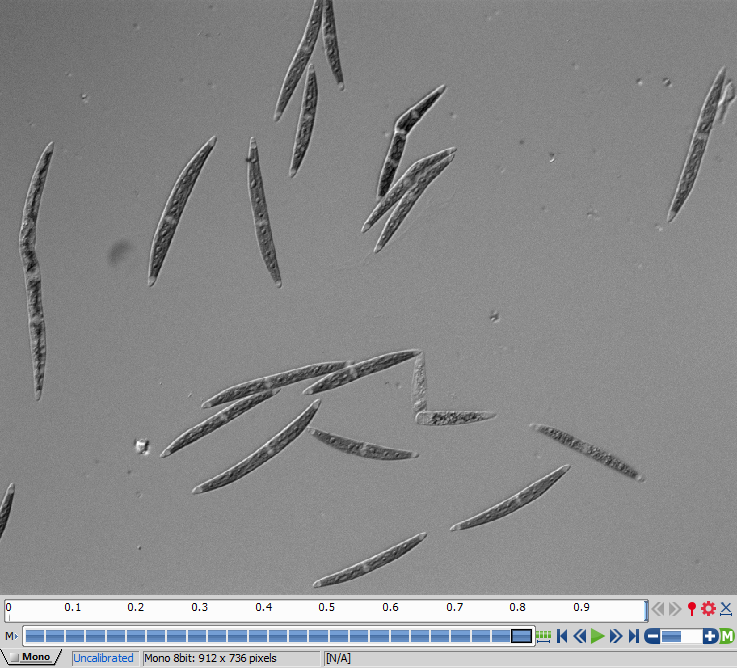
Figure 1520. Training multi-point image sample.
Then we open the Binary > Binary Editor for cells segmenting. Four binary groups for four types of cells are created:
live cells - dark color
dead cells - gray, transparent look
bulged cells - having one blunt end
fractured cells - broken into pieces
We use the available drawing tools (Drawing tools) to select single cell types and create four different binary categories. Make sure to follow the rules for binary preparation (Preparing the training binary image).
To add a new cell type (binary layer), we click on  Create New Binary Layer and select it from the drop-down menu next to this button. Each cell type will have a different color. Transparency of the color can be adjusted by a keyboard shortcut Ctrl + Up/Down. After drawing at least one cell of each type we can switch to the View > Analysis Controls > Binary Layers
  panel and rename layers in the Working Layers section to “live”, “dead”, “bulged”, and “fractured”.
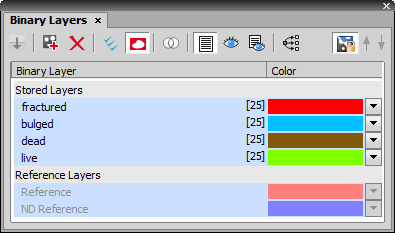
Figure 1521. Binary Layers panel.
Once we select and categorize all cells in the multi-point, we can start the training.
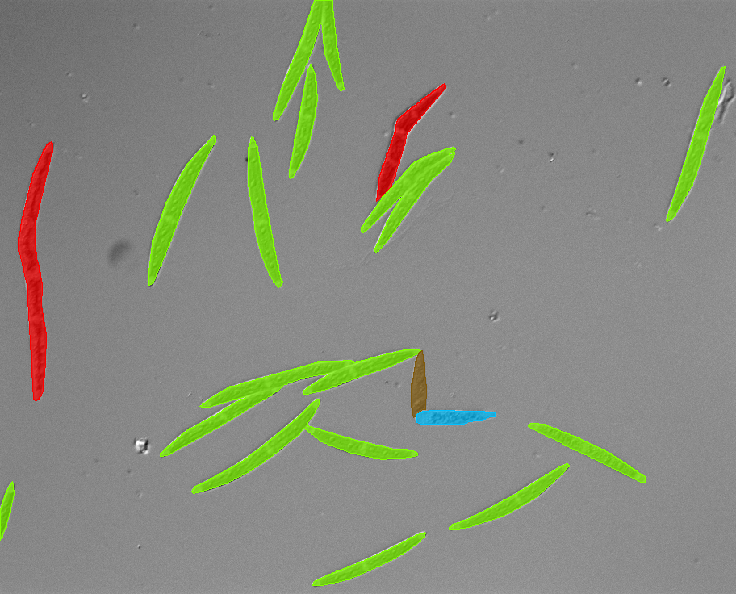
Figure 1522. Categorized binaries.
We run NIS.ai > Train Segment.ai, select the source channel (Mono in our case), select which cells will be used as Ground truth binaries , leave the default number of Iterations, specify the output as shown in the figure below and click .
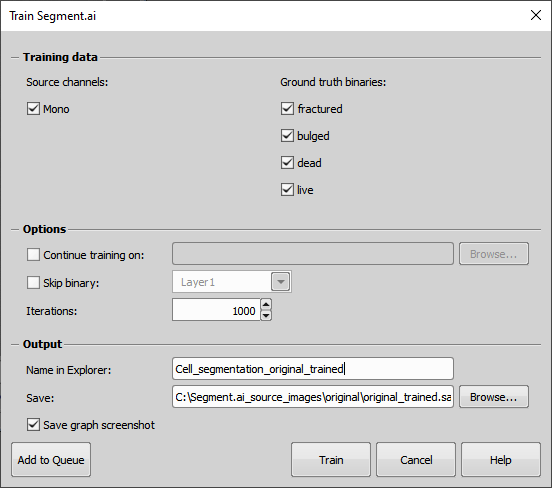
Figure 1523. Train Segment.ai dialog window.
Sample training begins. The Loss curve (red) should be decreasing over time, faster in the beginning, slower in the end as it approaches zero. There may be a few bumps along the way which is correct. Training time depends on the difficulty of the sample and the use case.
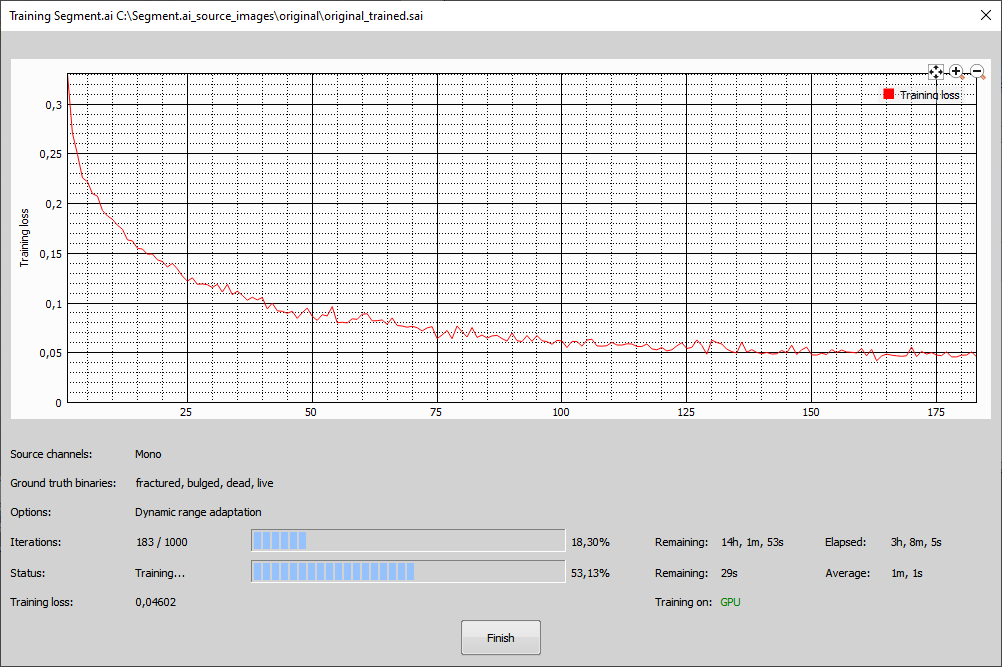
Figure 1524. Training progress showing the loss curve.
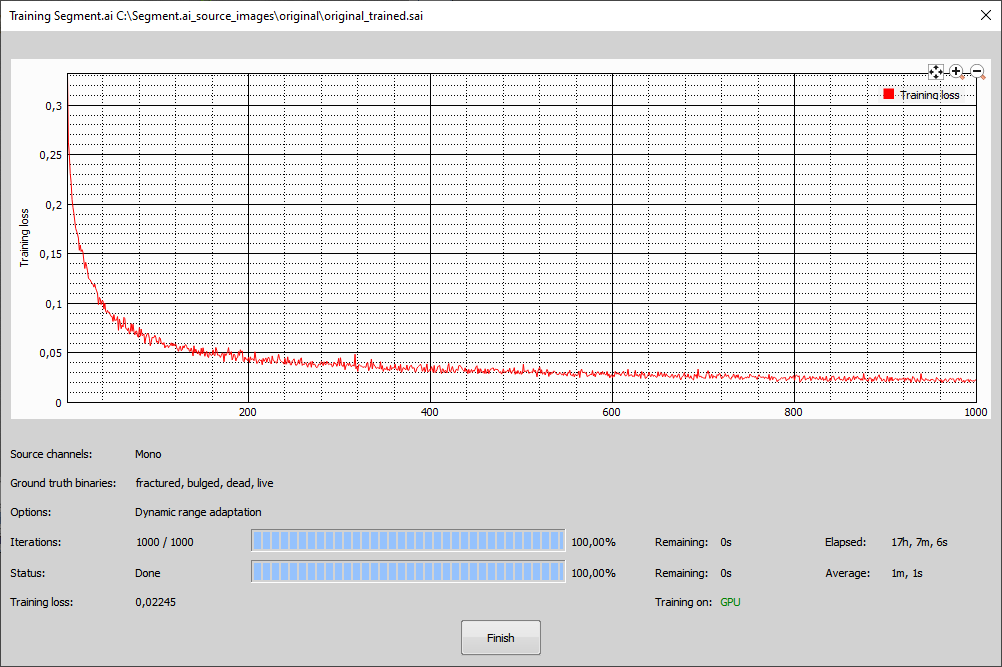
Figure 1525. Loss curve after the training was completed.
Once the dataset is trained, we can run the segmentation on a new dataset never used for training. Same as before the training, we convert the single TIF files into a single multi-point image. With the image open we run NIS.ai > Segment.ai, browse to the trained network, check Preview and adjust the Multi-Smooth value while watching the preview image until the result is satisfactory. Then we click to run the segmentation.
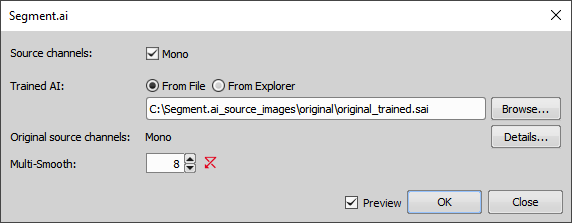
Figure 1526. Segment.ai dialog window.
The dataset is now segmented and four new binary layers are created.
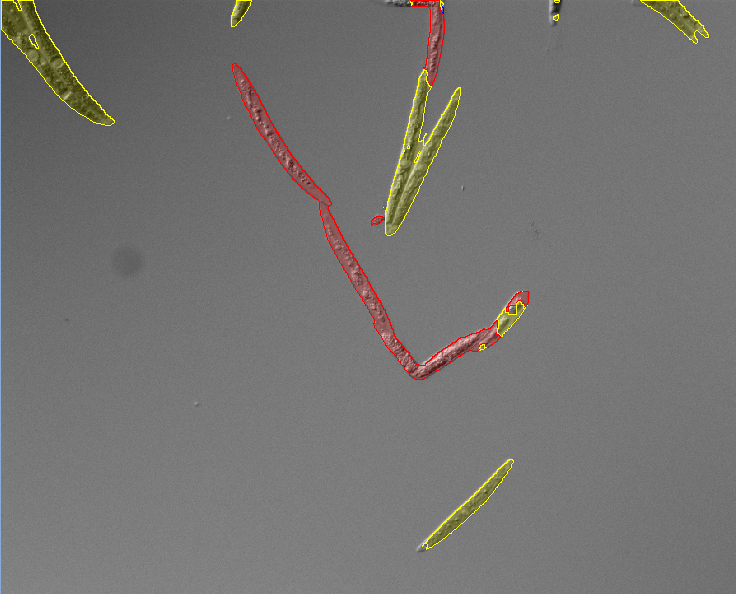
Figure 1527. Segmenting result.
You can further use the benefit of the NIS.ai > Segmentation > Segment.ai node in General Analysis 3 to analyze your segmented dataset, e.g. to count the number of cells of each type.