
This mode measures Grain Size on a requested number of fields inside a defined area. When selected, the following window appears:
Note
The scanning stage must be initialized beforehand.
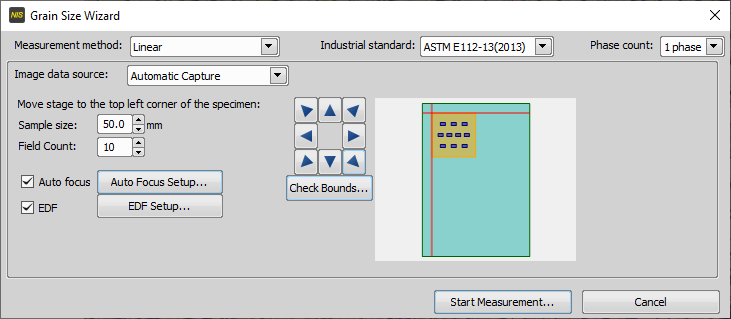
Figure 447.
If you started the
 Grain Size Wizard and selected the option Automatic Capture as the image data source, continue as follows.
Live camera image appears overlaid by a red cross. Use the arrow buttons or a joystick to position the sample so the red cross aligns with the center of the scanned area.
Specify the Sample size and click the button. The XY stage will move the red cross to the corner of the defined area so you can check the correct area definition. Modify the specified sample size accordingly.
Specify the number of fields to be scanned (Field Count). XY positions are calculated automatically by the software.
See descriptions of all options in Grain Size Wizard - Start.
Click the button. The first field will be captured and a window for defining the detection parameters and the stage preview appears.
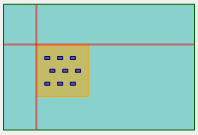
Figure 448. Stage Preview
Select a Detection Preset and click one of the buttons,
 or
or  , to check the detection. If needed - adjust options in the
  Detection
  panel - especially the threshold.
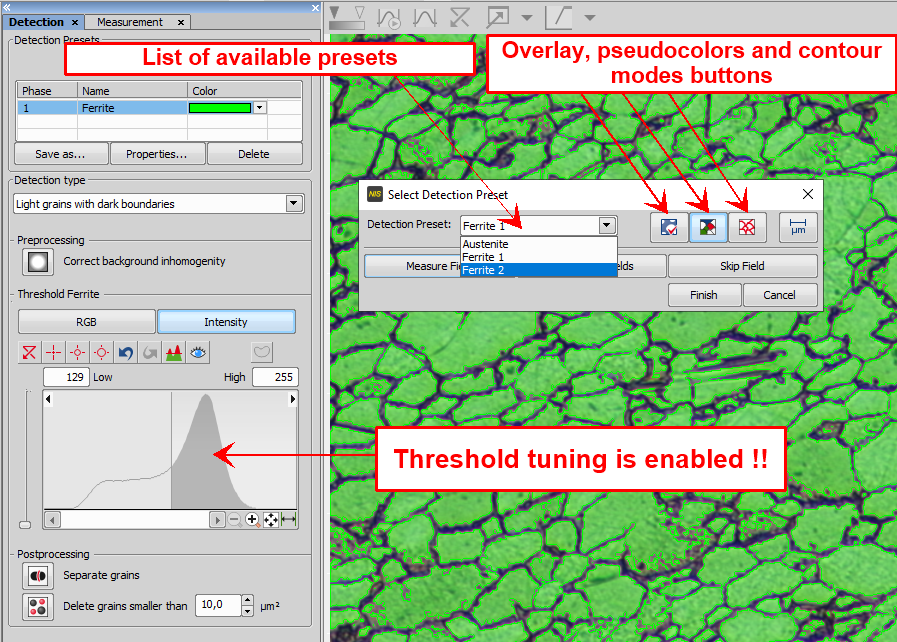
Figure 449.
If the preset is modified and not saved under a new name, the changes in detection are stored automatically to the actual preset.
Click the button. A window appears where you can select a Measurement Preset.
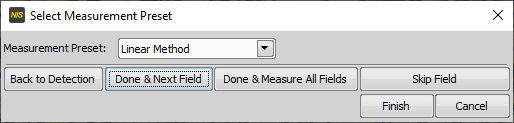
Figure 450.
If needed, adjust settings in the
Measurement  panel, the changes will be saved to the preset in the next step.
If needed, click the button to return to the detection adjustment. Then continue with the button again.
Click the button to finish measuring the first image.
It is recommended to repeat this procedure (capture image, check the detection, check the measurement) at least twice. If you are confident that the settings are fine, click the button. The rest of fields will be measured using the most recently saved presets.
View the resulting data and export them in the required format. See Data output and Reports.