
To run an existing GPA recipe, select a GPA definition from the GPA Explorer list (GPA Explorer) and click  Run or double-click on it. GPA run tabs will appear in the middle section of the application. Click and adjust all the tabs settings step-by-step as described below.
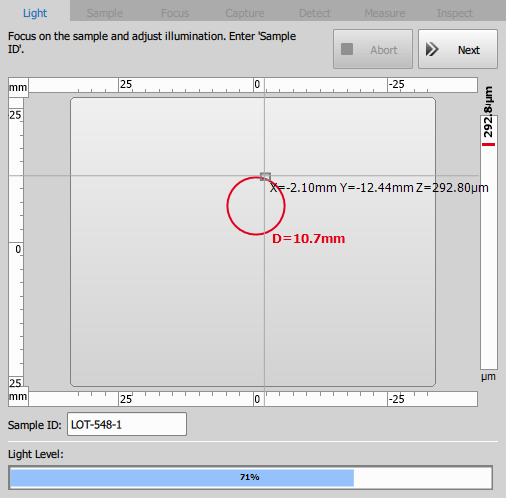
Figure 334. GPA Run.
Light
Sample
Move the green cross in the live image to precisely position the sample corner/edge and use the buttons below the stage preview to correct this position.
Click .
Focus
If Focus Plane or Focus Plane and Auto Focus were set in the Focusing Options of the current recipe, then click on a point inside your sample area, precisely focus on the sample and click .
Repeat this procedure for the second point not too close to first one. Click .
Repeat this procedure for the third point not too close to the previous two points and click .
Move to a random point and click Move to Focus Plane to verify that it is really in focus or use the Move to Focus Plane and Auto Focus to do the focus automatically.
Click .
Capture
Automatically scans the image. No user interaction is required.
Detect
Adjust the segmentation levels so that your particles are highlighted in the live image with the chosen segmentation color.
Click .
 Check Detection
Measure
Inspect
If an Inspection step was added in the GPA Definition then the GPA Inspection interface opens.
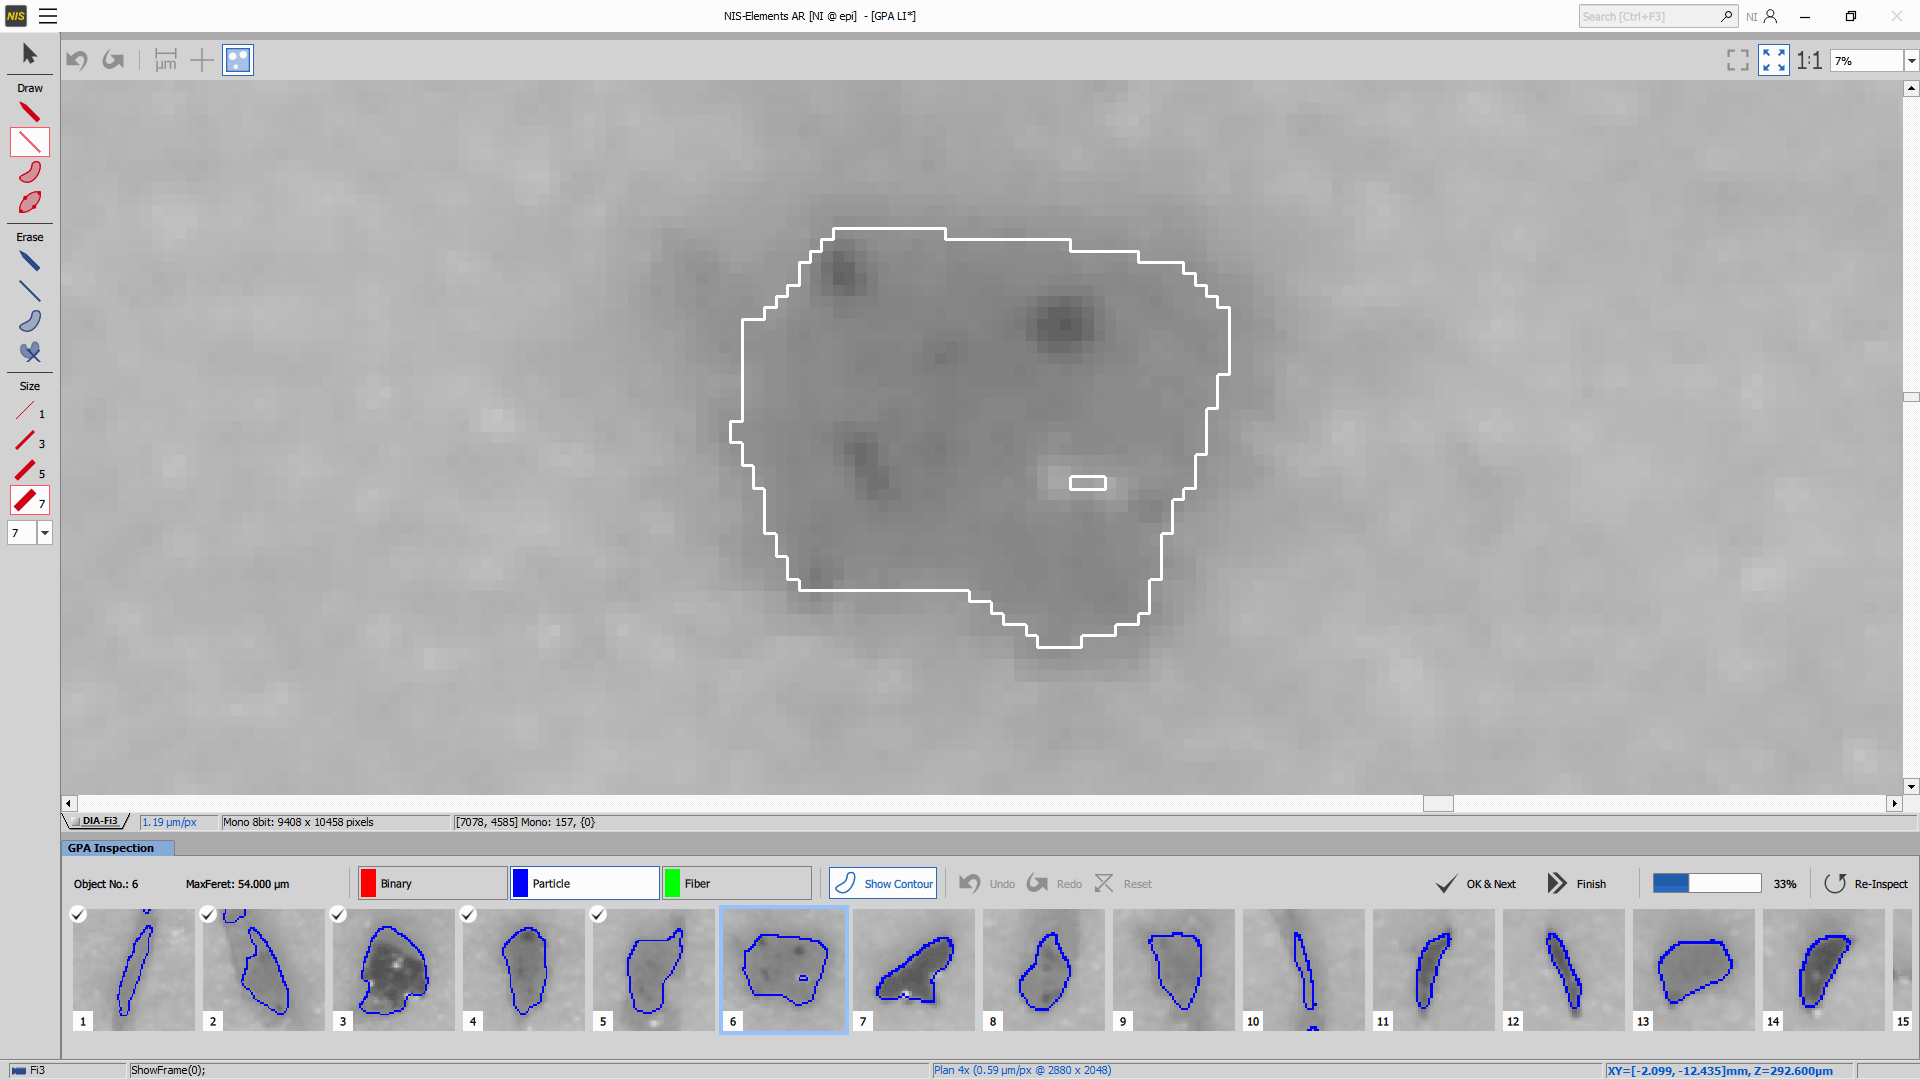
Figure 335. GPA Inspection.
Here you can check and correct the detected objects using the Draw and Erase tools in the left toolbar to further improve the ongoing segmentation.
Choose a binary layer which will be modified by drawing (select the rectangle of the binary layer below the image).
Select a tool, adjust the line thickness (Size) and then draw directly into the binary layer in the image to correct the first object.
Correct another object and click
 OK & Next. Repeat this procedure until all your objects are correctly segmented.
After the last object is inspected the measurement is repeated utilizing the segmentation improved by the manual inspection and the results are shown in the bottom part of the application.
 Finish
 Re-inspect
 Show Contour
Tip
To repeat the measurement procedure on the same GPA definition, simply click on .